Installing Google Play on Kindle Fire is possible, but you’ll need some instructions. In this detailed guide, we’ll show you how in minutes!
Google Play is the most popular app store in the world. But despite Kindle utilizing Android, it doesn’t come with the Google Play Store. However, there is a simple workaround.
In this guide, we’ll be showing you how to complete it. All you’ll need is a solid internet connection and your Kindle device. It shouldn’t take longer than 30-minutes, especially if you have some existing technical knowledge.
Why Isn’t the Play Store Pre-Installed?
Amazon, the inventor of the Kindle Fire, wants you to use their proprietary software and to install applications through their store. By doing so, they can ensure that they get more revenue for their business. Likewise, they don’t want people to overload their machine and then complain that certain apps are not functioning correctly when they weren’t intended to be.
Remember, the Android operating system which runs on the Kindle is owned by Google, which is why the Play Store will work correctly on it. Therefore, you shouldn’t worry about whether it is compatible or whether it should function as expected.
Is This Illegal?
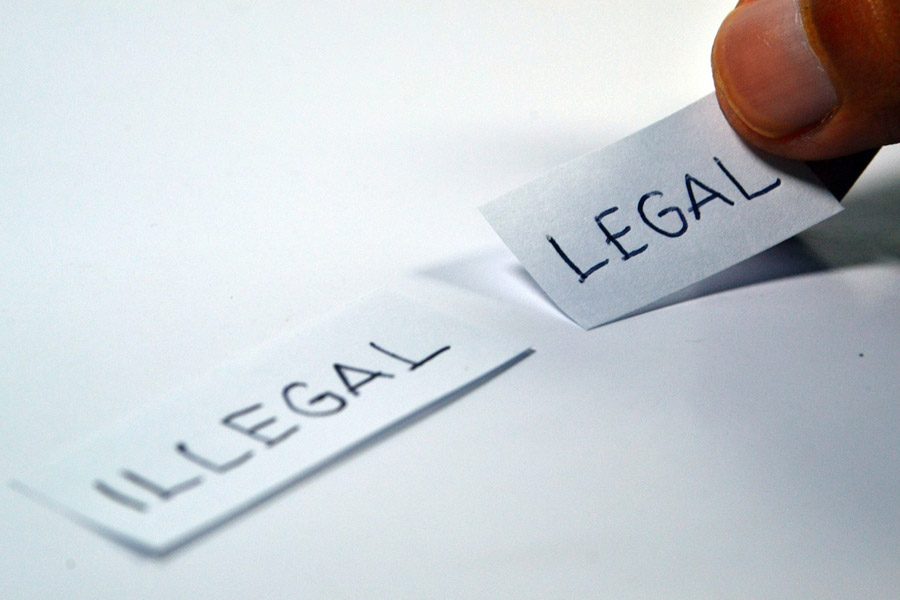
Image Source: Pixabay.com
No, downloading these files isn’t illegal. However, depending on your region it might be against the terms of service of Amazon and what they want you to do with their Kindle. However, there is little to no chance that they will find out that you have downloaded and are using the Google Play on Kindle Fire.
The Kindle operates entirely on Android, which is the operating system which was invented and is run by Google itself. Therefore, installing a Google application onto a Google property is highly unlikely to be in contradiction to any contracts or terms of service. Thousands of people do this every day without any fear.
How Does This Work?
This installation isn’t overly complicated. It doesn’t involve any hacking, rooting or scripting. All you are doing is downloading the Google Play store through a third-party website, where the files are separate. If you were on an Android device and downloaded it, it would come from Google. Otherwise, there is no practical difference in how it works.
Each of the files serves a specific purpose and will install the entirety of the software onto the Kindle machine that you’re using. To get these files, you’ll need to navigate to the relevant mirrors on your Kindle tablet. You could alternatively do this using a Windows PC. However, this would involve a rooting script, which is more complicated.
Plus, we believe that it will take you far longer. Downloading a few files on a Kindle takes minutes at most, especially if you are on a solid connection. Once the files are on the Kindle Fire, you can install them through the Downloads folder. They will unpack, and then you can open the Play Store, which will initiate any updates which you will need to continue.
Installing Google Play on Kindle Fire Devices
The process to install Google Play on Kindle Fire isn’t complicated, and you can do it entirely from your Fire device with little fuss. The only thing you’ll need is a stable connection to the internet, which is why we would recommend that you do this installation in your home when you have time to spare. It shouldn’t take more than 30-minutes, much of which will be waiting.
Unlike other workarounds, there is no need for rooting of the device. It also doesn’t require any scripting or advanced knowledge. You’ll simply be clicking a few buttons and downloading a file or two. Installing the store will take only a few minutes of effort, and then you’ll need to wait for the files to download and install. Meanwhile, you can relax.
We are confident that this will work on the version 5.3.2, although there are reports that it works on all newer versions as well. As long as they don’t drastically change the operating system, this workaround should work properly for years to come. To check your version, you can go into Settings > Device Options > System Updates and see the number at the top of the screen.
Step One: Downloading the Files
Image Source: Pixabay.com
Before you are able to install the files, you must change your settings slightly to allow your device to install files that aren’t directly from Amazon. To do so, go to Settings and then into Security, and enable the setting called “Apps from Unknown Sources.” Don’t worry; you can always disable this later to add extra protection to your Kindle machine
You’ll need to download and install the necessary APK files, which are extra libraries which will start to installation sequence. To do so, open the Silk browser on the tablet and navigate to this very page. You’ll then need to go to the following links:
- Google Account Manager
- Google Services Framework
- Google Play Services (use this version if you are using the 2017 Fire HD 8)
- Google Play Store
To download these files, you should click the link and then scroll down. You’ll see a link called “Download APK,” and you should tap this button which will start grabbing the file for you. When it does, a pop-up will appear on your device telling you that the file could be harmful because it can install files. Ignore this and tap on “OK” to proceed.
You need to get all four of these files before you can proceed. Each is a necessary component of this process, and without every file, you will get an error message if you try to continue and skip this step.
Step Two: Installing the Google Play Store
Now that you have all of the files you need to open them. To do so, close the Silk browser and navigate to the Docs application which should be on your Home tab. Inside, tap on “Local Storage” and then “Download” to find the new files. Remember, you need to install them in the order that they are listed above which should be:
- Google Account Manager (com.google.android.gsf.login)
- Google Services Framework (com.google.android.gsf)
- Google Play Services (com.google.android.gms)
- Google Play Store (com.android.vending)
Failing to follow this order will lead to errors. Each following file relies on resources and integrations from the previous, making it mission critical that you do it in the right order, without skipping any steps.
Tap the first file to begin, and you’ll then need to tap “Install” at the bottom. Towards the upper-left of the screen, you’ll see which file is processing. Once it finishes, start the next and so on, until all are complete.
If you are struggling, restart the device. You should always check that you aren’t set the install apps to an SD card. You can check this setting in Storage > SD Card.
Step Three: Open Google Play on Kindle Fire
Once you have installed the final file, you can navigate to your home screen. You should see that the Google Play is right there like it would be on any Android device. You should tap to open it and then sign into the application with your usual Google account. It might operate slowly at first or seem bugged, but give it a little time to process, and it will work.
They usually need to update and download multiple files, which can take ten minutes or more. Be patient, and it will soon complete. Otherwise, start searching through the store and find the apps that you need. We would recommend that you download and install one quickly to test that it’s working properly. If not, uninstall and start from the beginning to complete the steps.
Installing Through a Windows PC
Image Source: Unsplash.com
There is an alternative method for getting the Google Play Store onto your Kindle device, but it’s more complicated. It requires a higher number of parts and also some technical knowledge. For this reason, we’d only recommend it to those who are confident using a little more tech experience to get this working.
To begin, go into the settings and tap “Device Options” and locate the serial number field. Tap it repeatedly until a “Developer Options” appears below it. Go into this and locate “Enable ADB” and activate it. By doing so, you’ll be able to connect your tablet to your computer using a USB cable.
You’ll need to visit the Root Junk site now and download the necessary .zip with the included files. Extract this .zip and then double click on the .bat file to start the process. On your Fire tablet, you should “Allow USB debugging” and then type “2” into the first screen that appears and press Enter. The script automatically installs the files and sets the correct permissions.
You’ll now need to wait until it’s complete. Reboot your Fire when you are told to do so and then unplug the USB cable and restart it. When it turns back on you should go back into your settings and disable and ADB option that you enabled earlier. Finally, head to the Google Play Store application that should be on your home screen and start it up.
You’ll be prompted to sign into your account. After doing so, download an app that you want and make sure that it works. You might need to wait a few moments while it completes any updates that were not in the script file that you got from Root Junk. Typically, this shouldn’t take longer than a couple of minutes if you are on a good internet connection.


